Wednesday, June 25, 2014

Vintage 1933

Thanks to my friend Kris Curtis here is a magazine from just a little over 80 years ago.  I love seeing how unique the designs were.  This magazine is Children's Dress March 1933, and priced at 4 1/2 D.  Not certain what the pricing is?


Just a few facts from 1933, it was the worst year for "The Great Depression" with 1 in 4, in the US 1 in 3 out of work.  How Much things cost in 1933 Average Cost of new house $5,750.00 Average wages per year $1,550.00 Cost of a gallon of Gas 10 cents Average Cost for house rent $18.00 per month Vacuum Cleaner $17.75 A loaf of Bread 7 cents Newport Boulevard Ladies Hat $1.69 A LB of Hamburger Meat 11 cents Silk and Rayon Stockings 39 cents a Pair Plymouth 6 Car$445.00 Health Building Tonic 89 cents Campbells Vegetable Soup 10 cents 1933 Vintage Radio $52.00 Average Laborers Wage $20.00 per week 
Below are some Prices for UK guides in Pounds Sterling 

Average House Price 530
I find the ads interesting.


This fabric introduced as Nucloaine I have never heard of?  Sounds rather sturdy to match the times.


Being a family that loves Ovaltine I loved this ad.


Not certain if this is readable so here is the first paragraph which I enjoyed.

  "More and more are mothers realising the value of making their children's clothes themselves.  That is one thing that the general slump has taught us.  But, certainly, unless you an afford to spend a big sum on dressing the children, it is impossible to buy ready mades that are not clumsy, ill-cut and of very indifferent material.

On the other hand, when mothers decide to become their children's dressmakers, what delightful little garments they can produce for just a few shillings!  It you have never made before, then this is a very good season to start, for all new little coats and frocks are being designed on simple, plain lines that are particularly easy to copy."

Whether sewing for children or yourself I think this sums up some of the reasons that I like to sew.


I think this is a cute design for chain stitch and satin stitch. 


The like the title "The Newest Styles For The Youngest Man"!  Very dapper.


Thursday, June 19, 2014

Susan Khalje "The Classic French Jacket" Day 6


Day 6:  Hemming, trim, pockets, closures

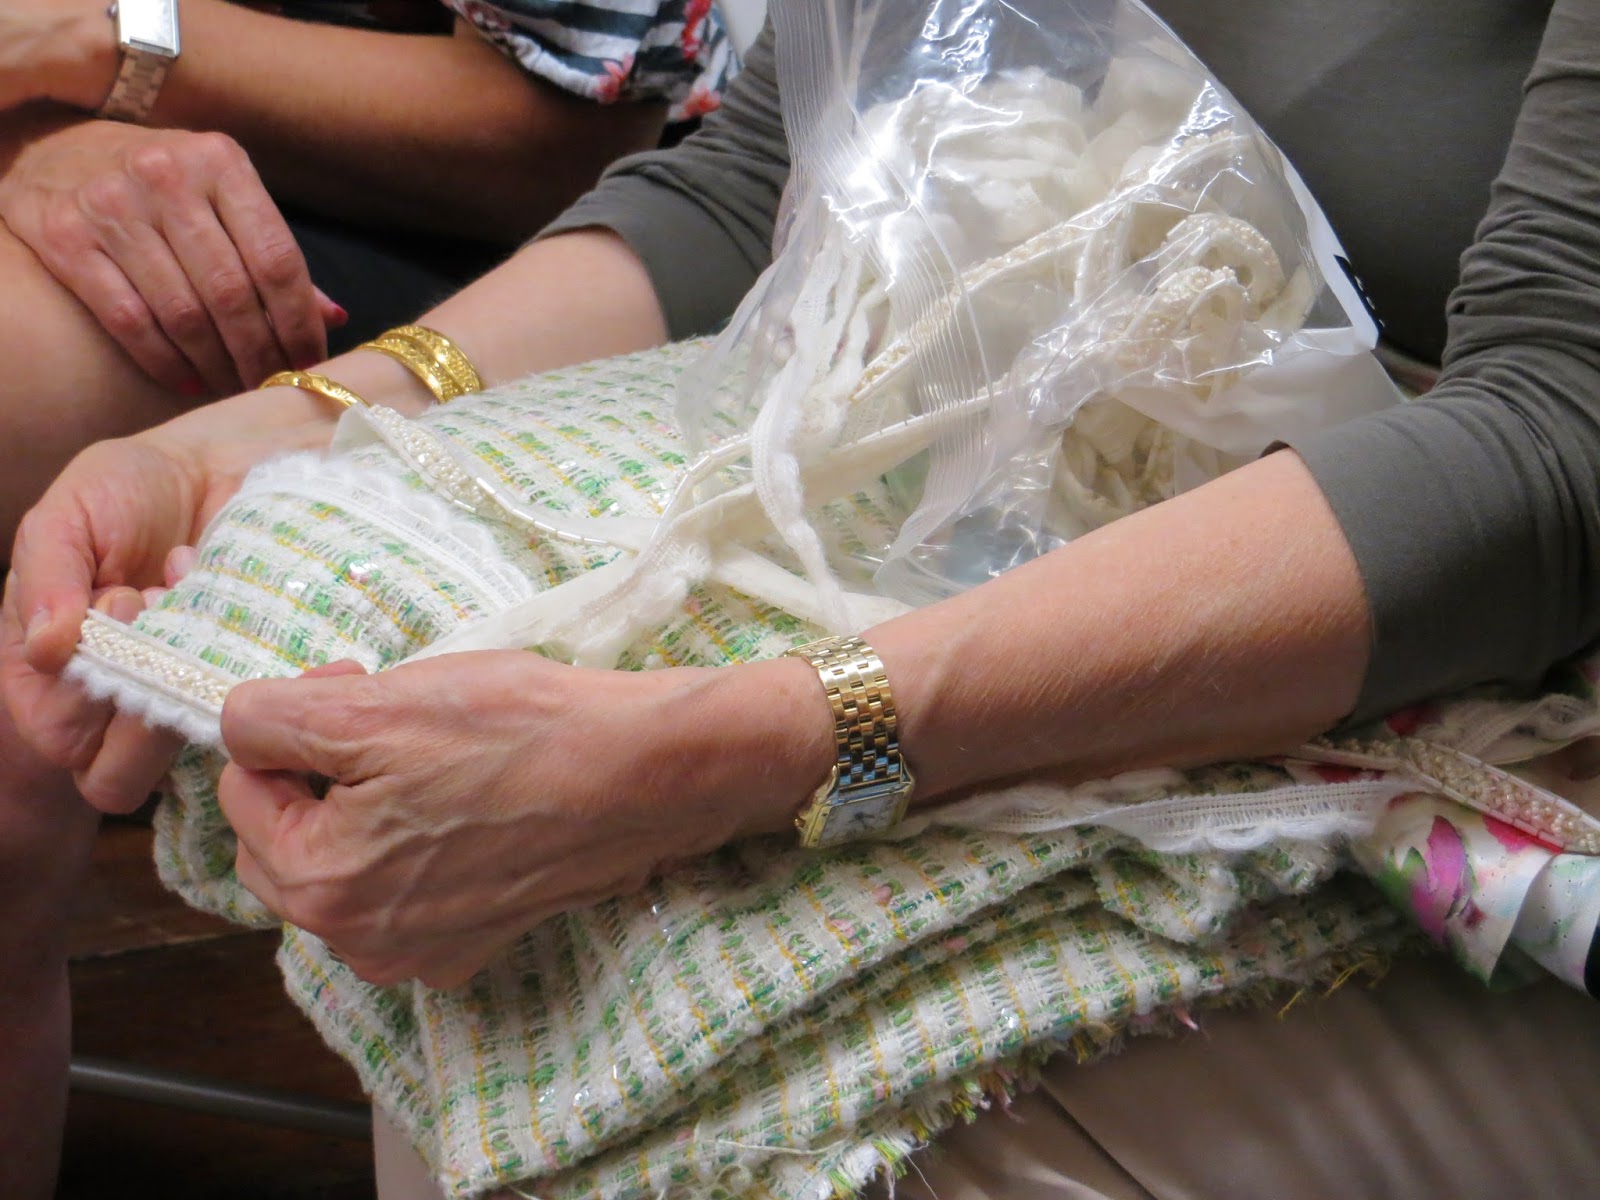
It is really a wonderful feeling to go from this lovely pile of fabric to this jacket!  Just the finishing touches are needed.


 I was at home when I started adding the trim and finishing up the jacket details.  Putting my jacket on my dress form made the process of handsewing my trim on a little easier..  We used these hooks and eyes, which were recommended as well as these scissors.  Susan Khalje.com sells these scissors which I used for many purposes and would highly recommend.   


I needed to place my first hook and eye, which I placed at the widest part of my bust.  Obvious reasons....  

This is the trim purchased from M and J Trims NYC.  You cannot tell from the picture but it has slim leather strips through it.
It adds a nice weight to the jacket edges.

I then took my time hand sewing my trim all around the jacket.  Fist down one side and then the other allowing for some ease.


  Needed to tidy up the inside lining all around the outer edges.  I loved this silk with the pearls on it.  I believe Karen from fiftydresses.com created a dress out of it.   


 Then added the chain at the lower edge of the jacket.  


 Just adds some more weight and so elegant.  

My pockets I played with until I liked the placement.  Not very clear here but I lined and quilted the inside of my pockets.  Also covered snaps so the pockets would not gap open.  I just liked them this way, no other reason.  If anyone is able to go to one of Susan's classes, it is well worth the effort.  This is a wonderful jacket and I am so happy with the results.  


The next best thing though is Susan is now offering on line classes through her website SusanKhalje.com and will be teaching this jacket!  This is not a complex jacket and Susan does a wonderful job stepping through and teaching each component.  A must have!


Saturday, June 14, 2014

Susan Khalje "The Classic French Jacket" Day 5

Day 5:  Sleeves, Neckline, Plaid


Onto the sleeves.  At the time I really didn't understand doing the body of the garment first, but at this point it made a lot of sense.  Put together the shoulder seams and hand basted my muslin sleeve in. 


 My muslin sleeve with plaid marked at the top and fitting changes.  


 We then created a three piece sleeve out of the adjusted muslin.  

 . 
        Then added a tab.  

 I laid out my muslin sleeve on my fabric, matching my plaid.  I really did not fuss with the under sleeve.  Cut around the pieces giving good seam allowances.  Then placed the pieces on top of the lining, with the lining facing downwards.  My lining looks white on the wrong side.  

Follow the same procedure for the body of the jacket. Quilt the lining to the fabric, sew up the seams, and fell stitch the lining.

Front Shot
Back Shot


Friday, June 13, 2014

Susan Khalje "The Classic French Jacket" Day 4

Day 4:  final fitting in fashion fabric, Make adjustments, clean up seams, feLl stitch lining in place

Every fabric behaves differently and in my case I needed to let out the bust area a little.  That is why large seam allowances are great! 


On my fitting adjustments; the bust area was let out, we also raised my neck edge front and back ½”.  Side seams were given ½” as well for more wearing ease. 


My shoulders were adjusted a bit on the bodice front pieces I think about ½” again.   I am also a symmetrical so adjustments are on going for me.   Interesting how the fashion fabric and quilting tightens up the fabric. 


 My back turned out great, with just a little ease adjustment across the back. 

Clean up the seams and onto Fell stitching the lining.  


Hard to show but after the seams were cleaned up you basically over lap the lining and fell stitch along seam line.  


My vest all cleaned up with the appropriate ease.  


So happy with the fit.  This at these shows you the process I went through.  Exciting news follows.......


Thursday, June 12, 2014

Susan Khalje "The Classic French Jacket" Day 3

Day 3:  Thread tracing and reinforcing the shoulder area, quilting, and tying off

Continued to Baste organza on Side Fronts, Side Backs and various areas for reinforcement.


We then placed our fabric pieces, matching grainlines on top of the Wrong Side of the lining.  See the photo of Karen below which shows that step more clearly. 


Continued to outline with thread and reinforce various areas with the silk organza.  There really is no interfacing used in this jacket.  This allows for a wonderful fit.   


We had to be careful that the grain of the silk organza and the grain of the jacket fabric were both on grain.  You can sort of see that in this picture.


I like this picture as Karen's fabric and contrast shows very well in pictures. We worked from the bottom upward.  Once every piece was thread basted


we then set up to machine quilt our fabric and lining together.  Check out Karens blog:  fiftydresses.com  

We set up our sewing machines to quilt our fabric and lining pieces together.  I finally was able to use my walking foot for my Bernina, which I admit before this time I rarely used.  The Walking foot keeps the slippery lining and more stable fashion fabric from shifting.  I used a longer stitch length (word to the wise if you have to take anything out this will save your sanity!)

I quilted vertical lines following the white vertical threads in my fabric.  Again, showing why it is important to purchase good fabric that stays on grain. Another shout out to Mendel Goldberg Fabrics, NYC!   Need to be careful and leave an appropriate distance between quilting and seams as we now spent the rest of the day and evening tying off threads.  Tedious but well worth it.

I then basted the jacket together along the seam lines, beginning and ending at the edges of the fabric.  Here is the inside of my jacket laid out flat, remember we have not dealt with sleeves yet.  


Here is a picture of the outside of my jacket at this stage.  


The best is yet to come! 


Wednesday, June 11, 2014

Susan Khalje "The Classic French Jacket" Day 2

Day 2:  Show and Tell fabric combinations, trim and lining, fitting the muslin without sleeves

 Show and Tell!  Here are some of the classmates fabric, and trim combinations.  Beyond  beautiful, and very dangerous as it makes you want to make all of these jackets!  


I love this picture of Susan as she goes through each selection with beautiful Joanne!
This is the Vogue pattern we used.  A very good Basic and I would highly recommend it.


Then onto our first series of fittings:  


Adjusted my hem in the back.


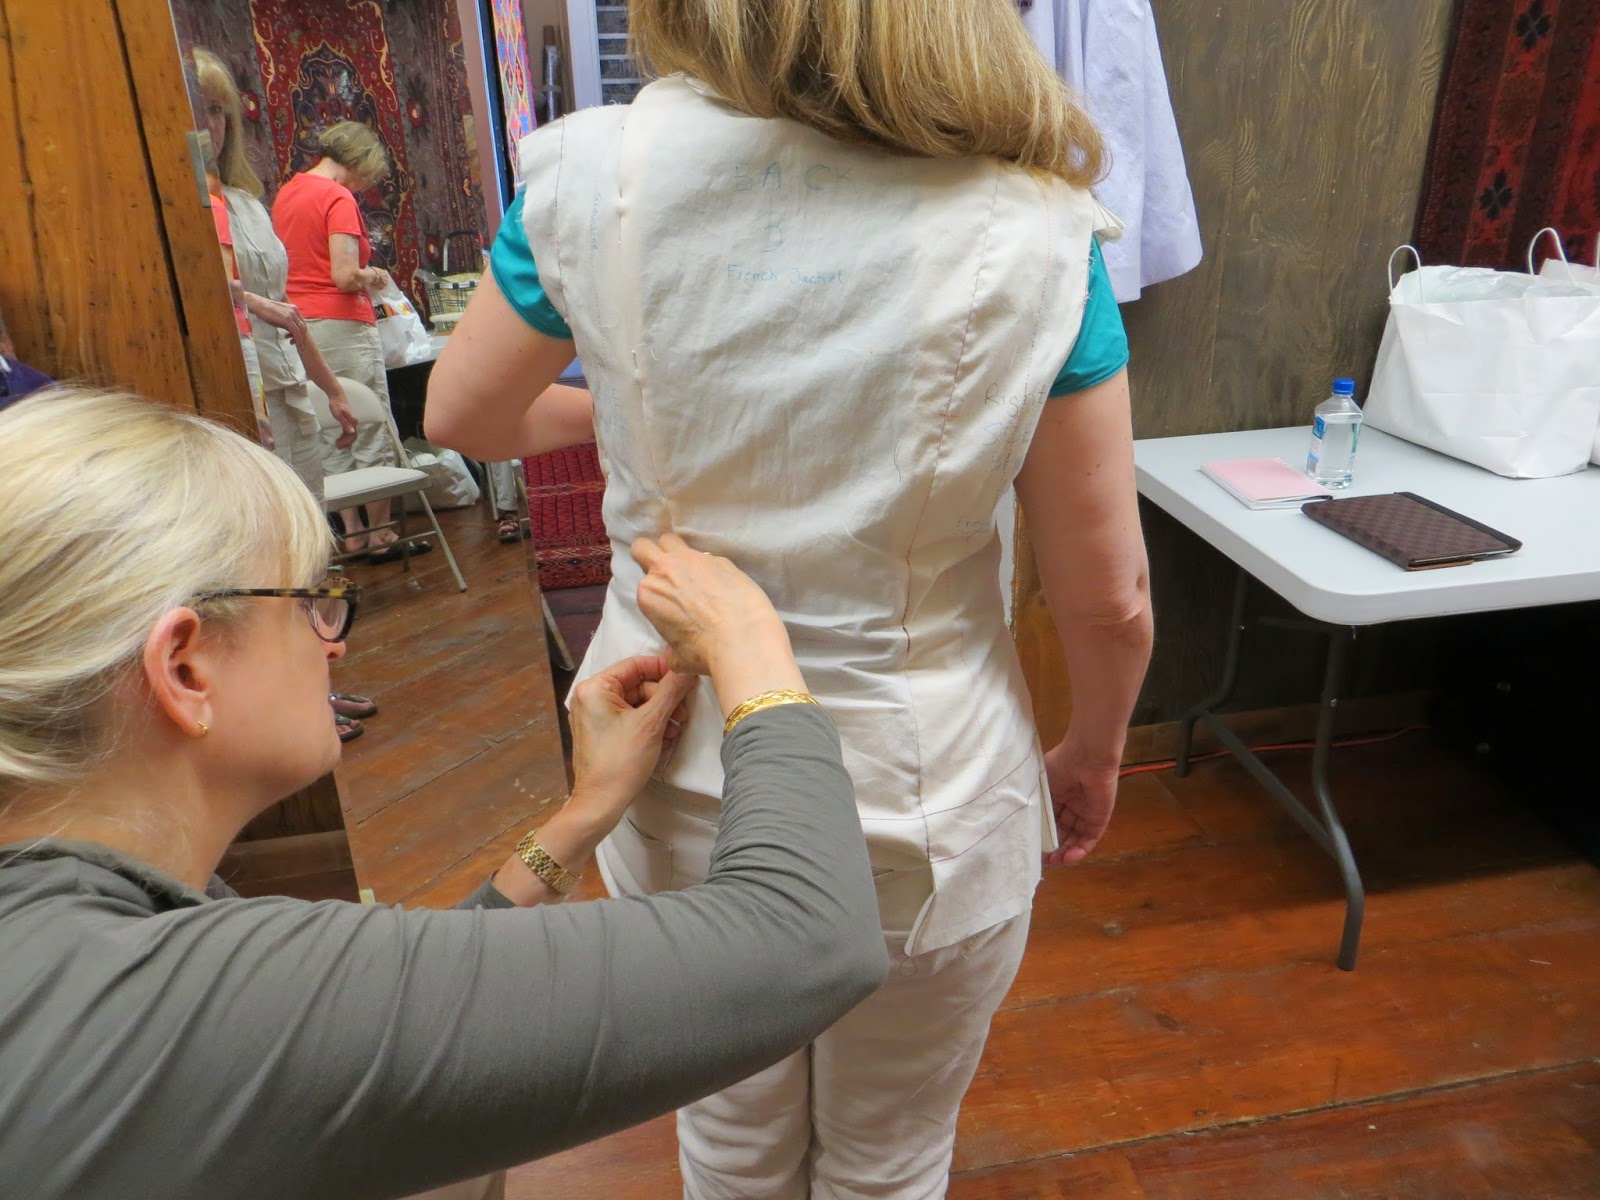
 I had adjustments at the shoulder.  Susan worked on my left side, for a symmetrical fit.  


 I had adjustments made to my side back piece.  See the difference from the right side.


 Again, came back to the shoulders to adjust.  I have broad shoulders so this is an adjustment that is common for me.


  Raised my neckline as well. 


 Tada!


 I just wanted to show the time and work Susan puts into each and every fitting.  This fitting was unique to my body type, every class member was fit according to her body type.  Susan has an amazing gift with fitting and is so patient, note her concentration.

I then transferred my adjustments to my muslin and cut the seam allowances off my muslin.  Note we did not deal with the sleeves yet.  This was our Chanel type Vest.


Cut the fashion fabric out minus the sleeves.  Laid out the muslin templates on the fashion fabric.  Checked the crosswise grain as well, (see my T square) to be sure that it’s exactly perpendicular to the lengthwise grain.  Lengthwise and crosswise grains can shift so need to take care.  I cut my pieces out with Large seam allowances. This is really important and helps if you mess up says the voice of reason here. 

I pinned on all of my pattern pieces while matching my plaid.  I basically made certain that the bottom seam lines hit the plaid at the same place.  I also used a L-Square ruler to make certain I was even with my plaid on each side.  A T-Square ruler would work great for this as well. 


 My generous cut out and then thread traced.  I used a Japanese basting thread from Shibori Dragon, was great but hard to see on this fabric.  I am going to order some others colors as I think pink would have shown up better.  I ended up doubling up some turquoise thread I just happen to have.

Susan did an outstanding job of this fitting.  It was worth the entire class for that alone.  More good news around the corner.....