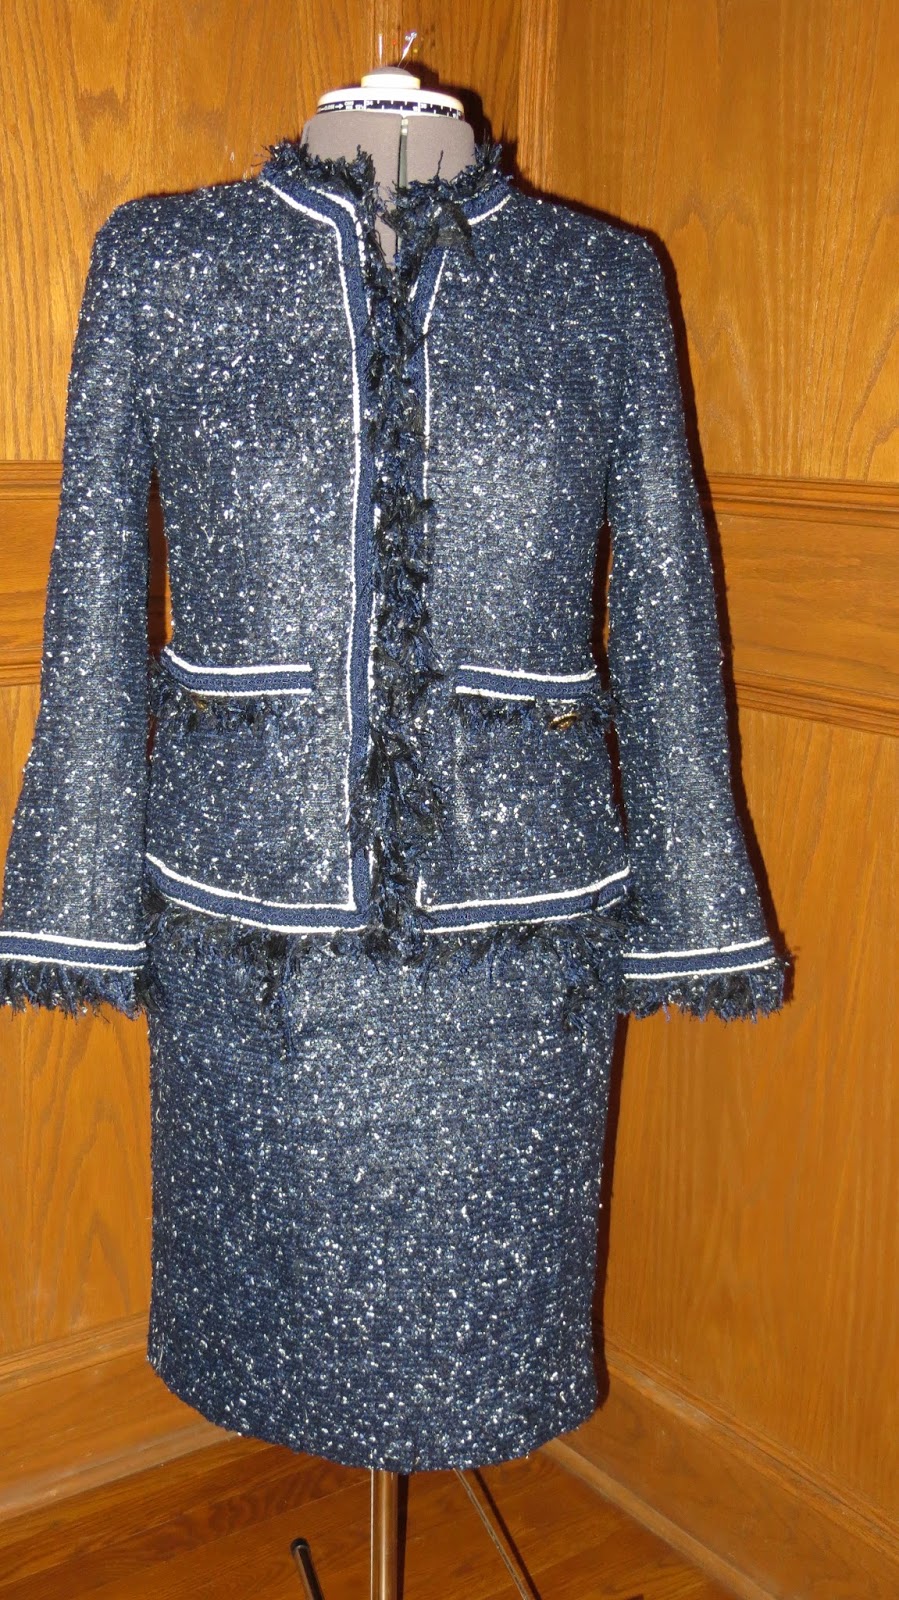
Following through with "The Happiness Project" which is about marriage. A great chapter on insights into marriage. Whether one is married or not there are some quotes that I think are great. One of my favorites " You can't change anyone else you can only work on yourself."
Showing posts with label home. Show all posts
Showing posts with label home. Show all posts
Friday, February 26, 2016
Tuesday, January 5, 2016
The Happiness Project Chapter One
I happened to be around some young people who mentioned this book. I loved their enthusiasm as they explained how they were not only excited about following the suggestions in the book but seeing the changes in their lives. Isn't that what New Year's resolutions are all about after all? So I am going to post things that bring me happiness through out this year.
A little prettier to look at here. My goals for January will focus on exercise, de-cluttering and attitude. My sewing area will be first on my list and hopefully bright and organized by next weeks post. We shall see... I do recommend the book though as it goes through the authors life and the changes she decides to make. I have no affiliation with the author just something fun I wanted to share. Part of happiness is passing along those things that bring you joy.
Monday, April 6, 2015
Covered Snaps
Here is a quick tutorial on how to cover snaps. Here are the materials I used. Scraps from my fashion fabric silk lining, waxed thread, and snaps.
My snap separated.
I cut a rough circle shape around each snap, giving some allowance.
I hand sewed a small running stitch around the lining edge with the snap placed face down.
Pulled up the thread, not to tight.
Snap the uncovered snap to the covered snap. This gives you the desired looseness necessary to close the snap.
Unsnap the snap and see the ease, without this the snap will not close. Trust me on this one.
Do a running stitch around the snap mate.
Pull up the running stitch.
I stab a needle down through the center of this snap.
Working the middle through the fabric. Otherwise, the snap will not close.
Hopefully, this picture shows how I sewed the snap on. I centered the snap behind the button for added support.
Without this snap my pocket would droop. Being that it is a decent size I thought it would be more aesthetically pleasing with the snap.
You can see a little with me wearing the jacket that the pockets stay put. Yes, I love to wear jeans with my jacket as well!
Pockets
Once my jacket is constructed I then add all the embellishments and pocket variations.
. I ended up with just two pockets, with the trim at my waistline. I liked the way it proportioned the jacket on me.
I used this Clover measuring guide to give me my rounded bottom edges.
Here is my thread traced pocket shape through the fashion fabric and silk organza on the back.
View of the silk organza side.
I then placed my lining over the silk organza side of my pocket.
Pinned my pocket center line.
Using white chalk drew a center line.
Walking foot on my machine and tension dialed up I machine stitched down the white marked center line of my pocket, leaving an inch at the top and the bottom of the pocket.
You can see here that I am able to pull my threads through and tie them off with the inch allowance.
I then measured from the center parallel lines about an inch apart, leaving an inch allowance on the sides.
I continued to machine quilt my fashion fabric, silk organza, and lining together.
You have to tie off all of those threads between the silk organza and lining.
You just fold your fashion fabric to the desired pocket shape and pin down your lining. I start with the top edge.
Then work on the bottom edge, lightly pressing down the lining first.
Carefully shape the corners.
My layout of my trims and embellishments used.
Added my fringe first by basting it down in the matching garment thread.
Then added my cream trim, hand stitching down.
I next added my blue trim, centered over the cream trim. This shows the back side and how it sits inside the pocket. I then slip stitched my lining around the pocket shape. I also at this stage added covered snaps to my pocket.
Carefully placed the pockets onto my jacket and hand stitched them on. I did add the buttons for an added embellishment.
Monday, March 16, 2015
Fringe
I wanted to put fringe on this jacket as the fabric has a flat appearance, but struggled with exactly how to get the look I wanted. After a fruitless search of fringe trims on the market I decided to make my own.

I cut strips on silk organza on the true bias, which is at a 45 degree angle. I used the two inch width of my ruler. You may wonder why I did not cut the organza on the straight of grain, tried that and found it difficult to work with. The bias allows you to place the fringe more accurately and to negotiate corners. Trust me, it makes a big difference.

I then cut bias strips of my fashion fabric on the true 45 degree bias. My strips were longer then the above example, but some were relatively short depending on how much fabric I had to work with.
Case in point. This is the fabric I ended up with at the end of my jacket and skirt.
Here are the two pieces you should have at this point.
This is a very important step. You need to flip your fashion fabric so the wrong side is facing up. With the organza it doesn't matter which side is up as both are pretty much the same, at least on mine.
Stack the fashion fabric on top of the organza creating a sandwich effect.
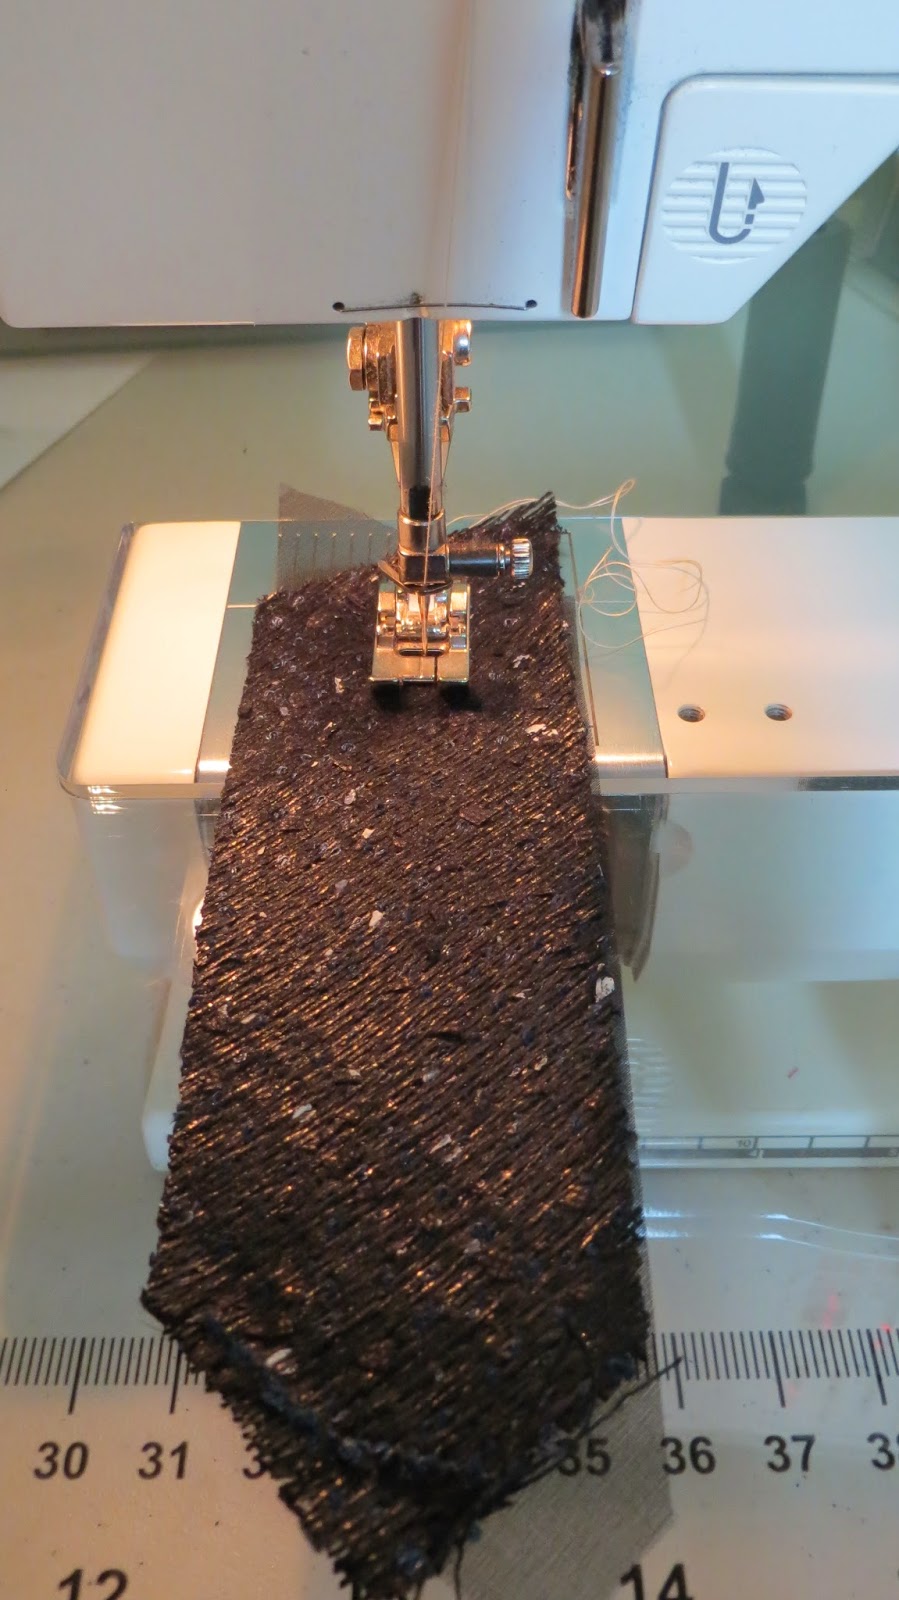
Next, machine stitch down the center of your sandwich, organza on the bottom fashion fabric on top. I used a standard stitch length of 2.5.
Here is your sandwich with the organza side facing you. I used light thread in my example but you would use matching thread at home.
I ironed my organza to one side, and my fashion fabric to the other side. Do you see now why you had to put the fashion fabric face down. If not it would not have looked right, trust me. I do not show it but I used a piece of organza to press my fashion fabric as I think there is lurex in this fabric. You have at this stage two layers of the fashion fabric and two layers of the silk organza.
I then stitched a zig zag stitch catching the organza-zig then the fashion fabric-zag. This helps keep the fringe stable. Again, I used matching thread on my garment. The white above is just for demonstration purposes.
To actually fringe I used scissors that had a dull point.
I basically separated the fibers and combed them downward.
You have to angle the blade downward to get a good fringe.
I turned my fringe sandwich to the non fringed side and separated the fibers as on the orginal side wallha! A healthy fringe. I hope this demystifies making fringe. I sometimes give it a comb through before I wear the suit, happy with the result though.
Subscribe to:
Posts (Atom)


